
A crown molding installation doesn’t have to be tricky. But it can be at times. A minor oversight or miscalculation adds material waste, time waste, and money waste. So it’s important to take every step you can to avoid issues down the line. Without further ado let’s dive into the best tips, tools you’ll need when installing, and the best course of action when you need to repair crown molding.
Most Important Tools For Installation

You may be familiar with the tools needed to install crown molding, but let’s cover the most important tools for the project. They include:
- Protractor – To measure angles around the room
- Brad Nail Gun & Brad Nails – To secure the crown molding in place
- Level – To check for levelness on the walls
- Tape Measure – To measure the walls and crown molding
- Miter Saw – To cut the crown molding for miter/cope joints
- Coping Saw - To cut the crown molding for cope joints
- Rasp or File – To finalize the cut of a cope joint
- Caulk & Wood Putty – To seal any gaps or visible nail holes
Optionally, using crown molding hangers can help make the installation process smoother when working on lengthy walls.
Preparing Your Installation Area
It is important to take the time to prepare the space where you’ll be installing crown molding. The first step is to accurately measure not only the linear length of the wall(s), but also to take angle measurements where the ceiling meets the wall and of any corners found in the room.
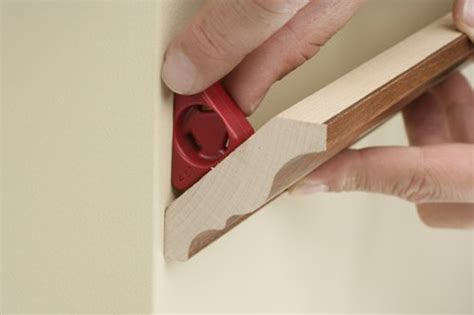
Keep in mind that the angle is not always a perfect 90 degrees. So measuring the angle will save you time and reduce the possibility of your crown molding not installing cleanly with a flush finish.
Before installing crown molding it’s best to remedy or account for potential issues such as bowed walls or damaged drywall, as these issues will likely impact the installation process.
Once all measurements have been completed and you’ve thoroughly accounted for potential complications, the next step is to prep your crown molding material.
Decide on which type of joint you will use at the corners where your crown molding will meet (either a miter joint or a cope joint). Take measurements twice to ensure accuracy. Then trim your pieces to the proper lengths for your walls. Prior to hanging your molding, locate wall studs and ceiling joists to confirm anchor points where nails will hold securely.
Potential Issues Following Installation
There are several issues that can arise after installation including warping, cracking, separating joints, and detachment from the wall or ceiling surface.
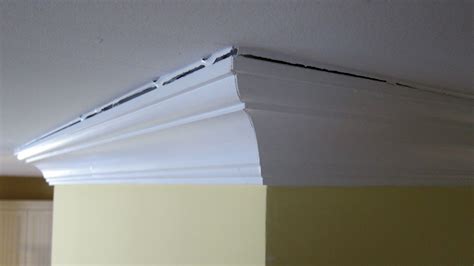
The most common culprits causing these issues are moisture exposure, pressure changes, are fluctuating temperatures. Some crown molding issues can appear quickly or take months or longer to become noticeable.
- Moisture exposure from improperly sealing both your home and the wood of the crown molding itself will most often cause warping and bowing.
- Pressure changes resulting when the ground beneath your home shifts or weight such as from snow is added to your roof can contract your walls and ceilings, cracking or dislodging your crown molding.
- Fluctuating temperatures may have similar effects, with structures expanding in high heat and contracting in the cold.
How To Repair Issues
If your crown molding needs repair, there are some easy methods for getting the job done. Common supplies needed for these repairs are caulk, spackle, wood putty, and paint.
If you notice gaps forming in joints or along surfaces, apply caulk first to seal the gaps. Use spackle to create a complete fill with painted crown molding and wood putty for unpainted surfaces.
When the issue is cracking, use wood putty to repair the crack(s) and apply fresh paint. In the case of unpainted crown molding, applying paint may be the best option for concealing repairs.
If you see dislodged crown molding, re-secure it with brad nails. Be careful as this approach can often result in fractures forming if too many nails are being used. As is the case with warping, however, it might be best to replace the dislodged piece with a fresh piece of crown molding.
Crown molding adds beauty and character to any space. Utilizing these crown molding tips for installation and repairs to prepare yourself, you will be confident that your project will be a stunning success. For further information on crown molding types and profiles, check out our inventory here.
